Mountain Duck
 CLI
CLIThe latest versions of Cyberduck & Mountain Duck now allow to connect to S3 by authenticating with an OpenID Connect (OIDC) identity provider.
Connections to S3 with web identity federation use AWS Security Token Service (STS) API to obtain temporary security credentials to authenticate with S3.
With web identity federation, you don’t need to (…) manage your own user identities. Instead, users of your app can sign in using a well-known external OpenID Connect (OIDC)-compatible IdP. They can receive an authentication token, and then exchange that token for temporary security credentials in AWS that map to an IAM role with permissions to use the resources in your AWS account. Using an IdP helps you keep your AWS account secure, because you don’t users to have long-term security credentials.
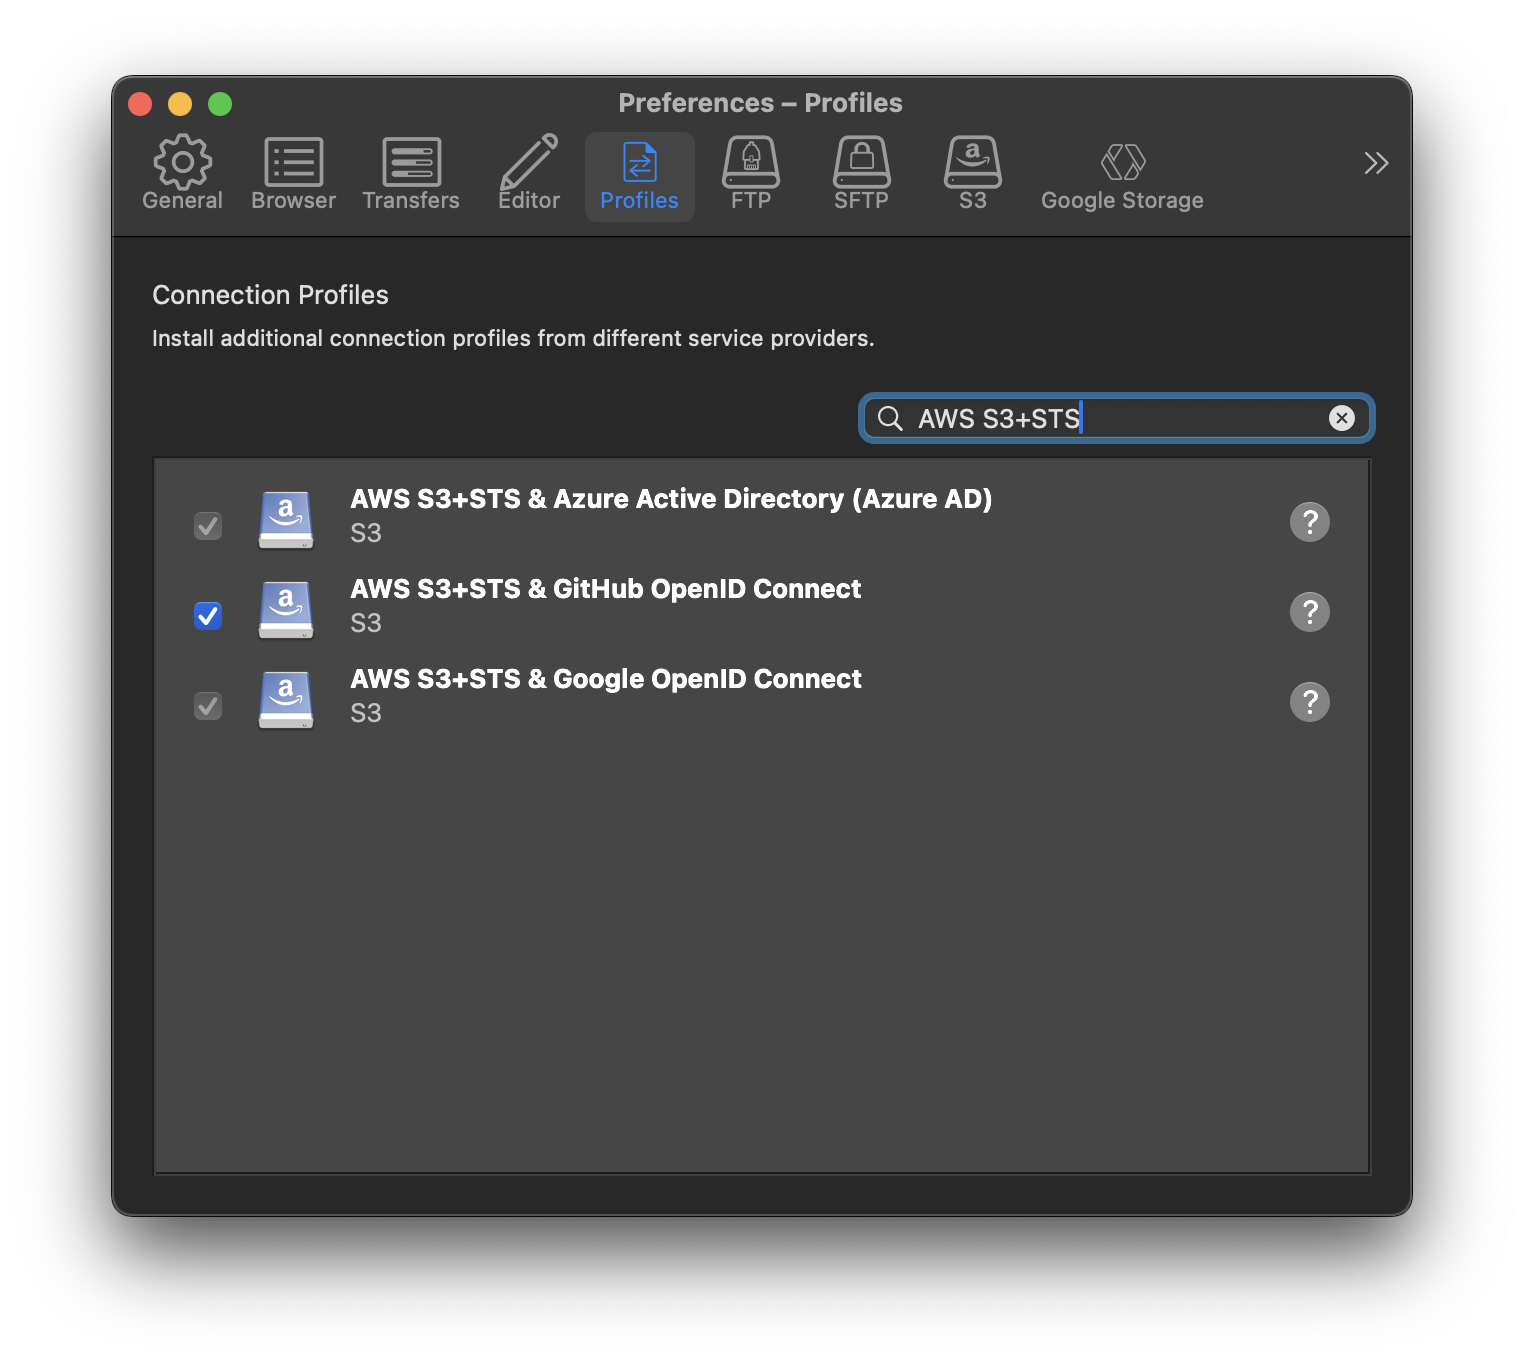
Default connection profiles for Google and Azure
Default connection profiles are provided to use Google or Azure AD as an identity provider in conjunction with AWS.
These default profiles will prompt users for the Role ARN configured in AWS IAM referencing the trust relationship configured with the identity provider. Assigned by AWS this has a format similar to arn:aws:iam::930717317329:role/my-role-name.
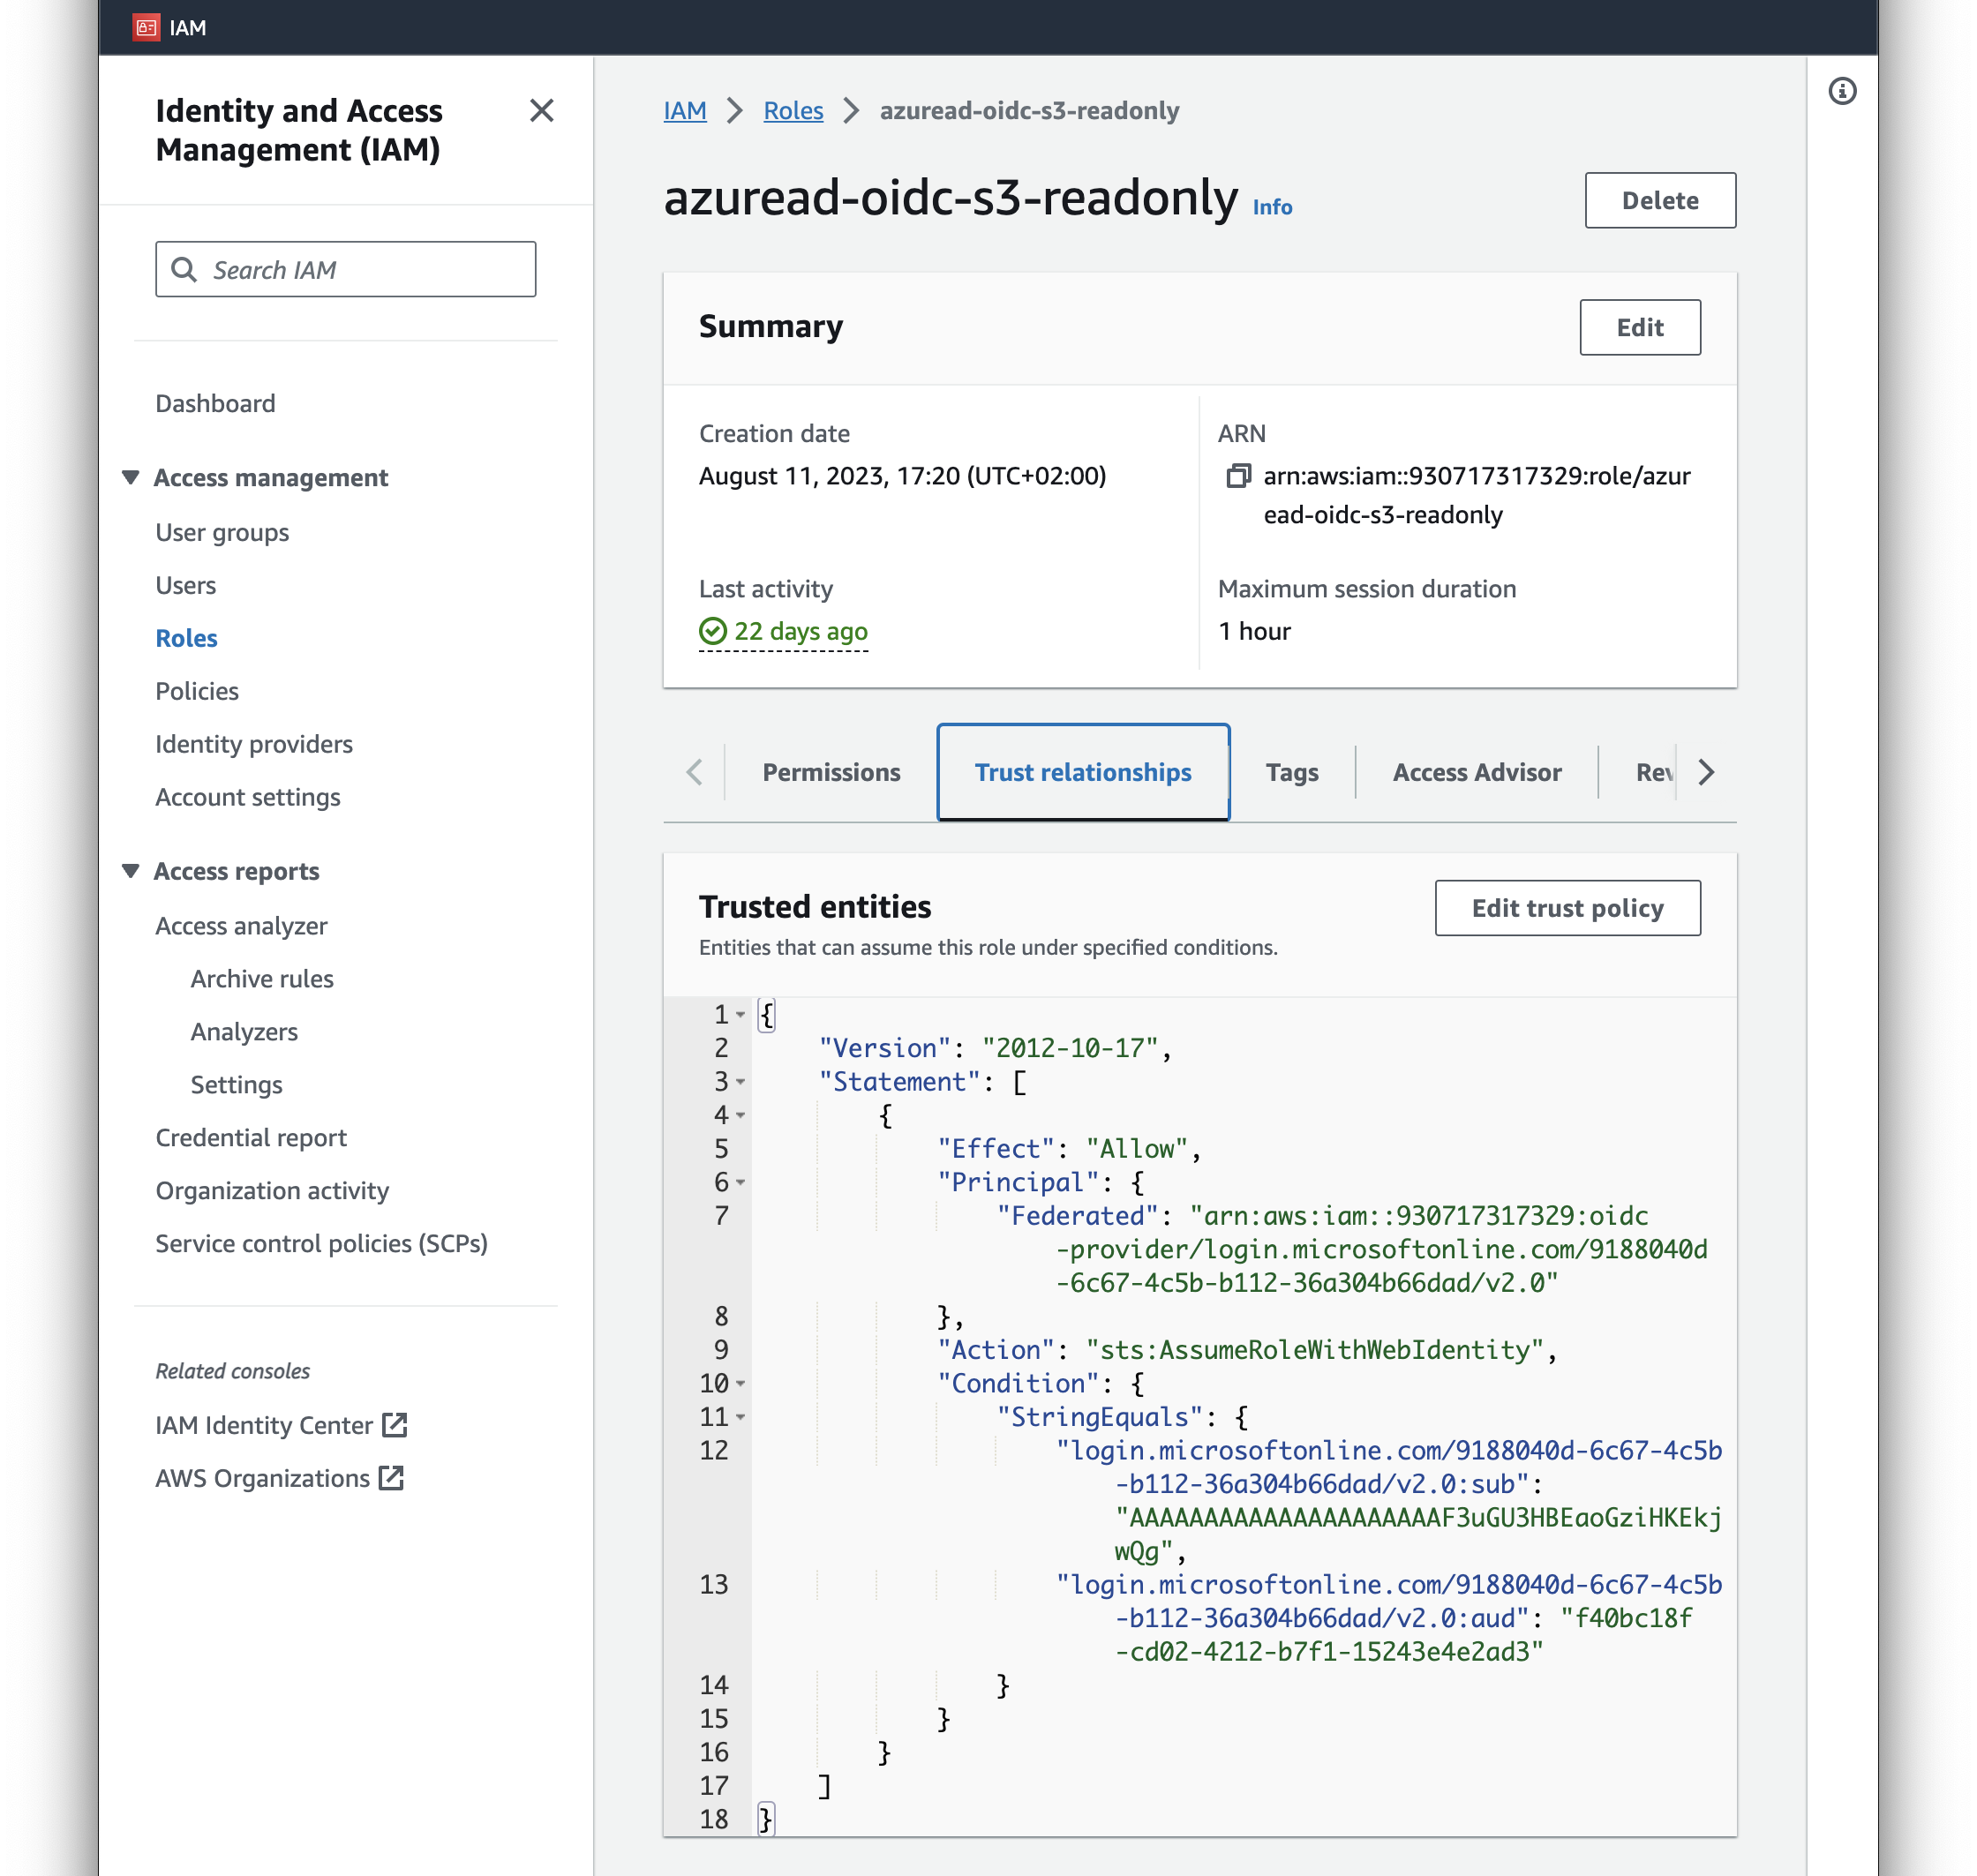
Configuration in AWS IAM
- Add an identity provider in IAM. Refer to the documentation from AWS.
- Assign a role. The role is crucial as it contains both the trust relationship with the identity provider and permission policy:
- The trust policy restricts access to users authenticated with a specific identity provider and allows to filter for specific users in the Condition statement with access to the JSON Web Token (JWT) claims that can be matched.
- With the permission policy attached it limits access to a predefined set of buckets or keys.
Refer to the AWS documentation on Creating a role for web identity or OpenID Connect Federation.
The role that your application assumes must trust the identity provider that is associated with the identity token. In other words, the identity provider must be specified in the role’s trust policy. The call to
AssumeRoleWithWebIdentityshould include the ARN of the role that is specific to the provider through which the user signed in.
Custom Integration
We have made available documentation to write your own connection profile for different combinations of S3/STS and identity provider such as MinIO S3 authenticating with MinIO STS and Keycloak (OIDC).
Documentation
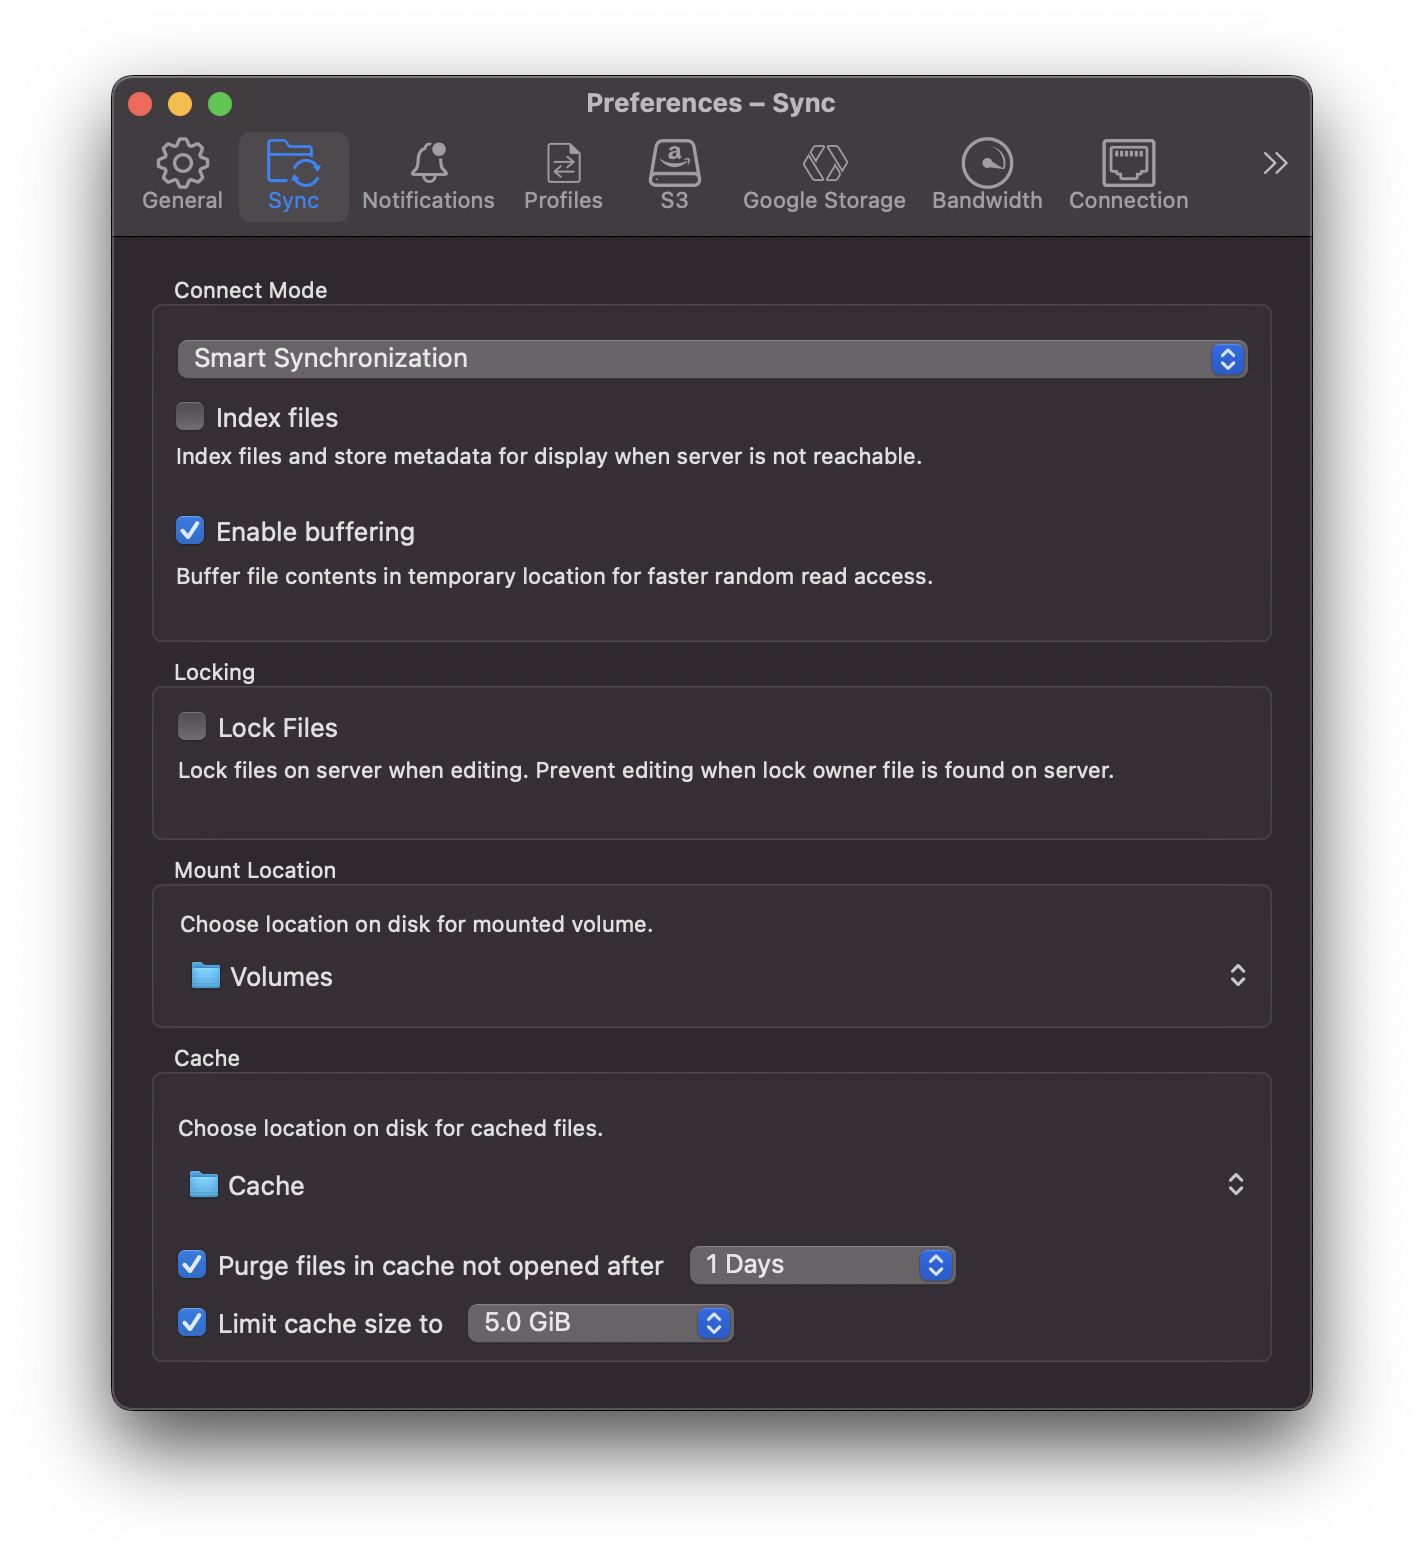
Refer to our S3 documentation.