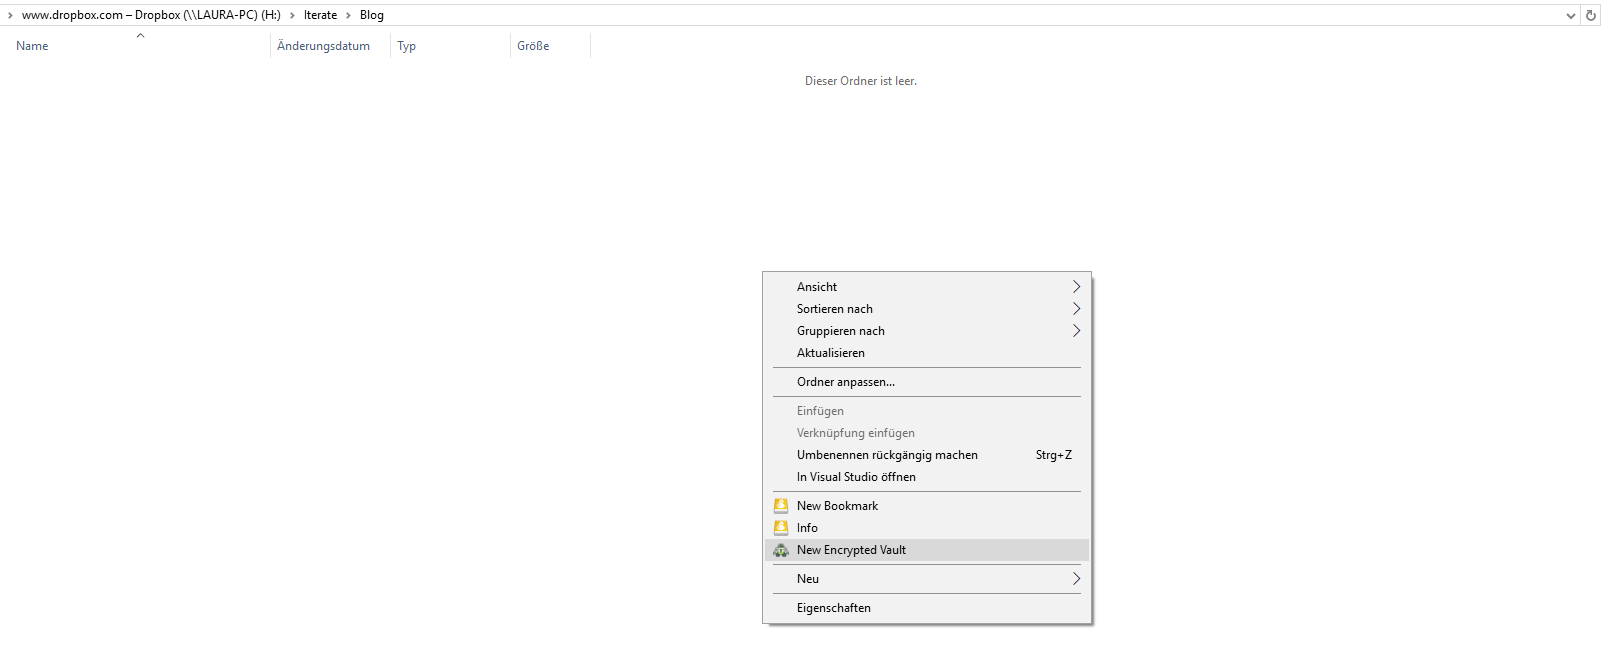
Mountain Duck
 CLI
CLI
We are thrilled to release a public beta of upcoming Mountain Duck 3. The new version is a major milestone in our development timeline. Bridging the gap between online only access with no use of local disk space in Mountain Duck 2 and the new smart synchronization feature in Mountain Duck 3 with much improved performance accessing files is the main focus.
Think of it like Dropbox for any server and cloud storage but with the option to choose which files and folders are available for offline use while others do not take up disk space on your computer.
Smart Synchronization for Offline Usage
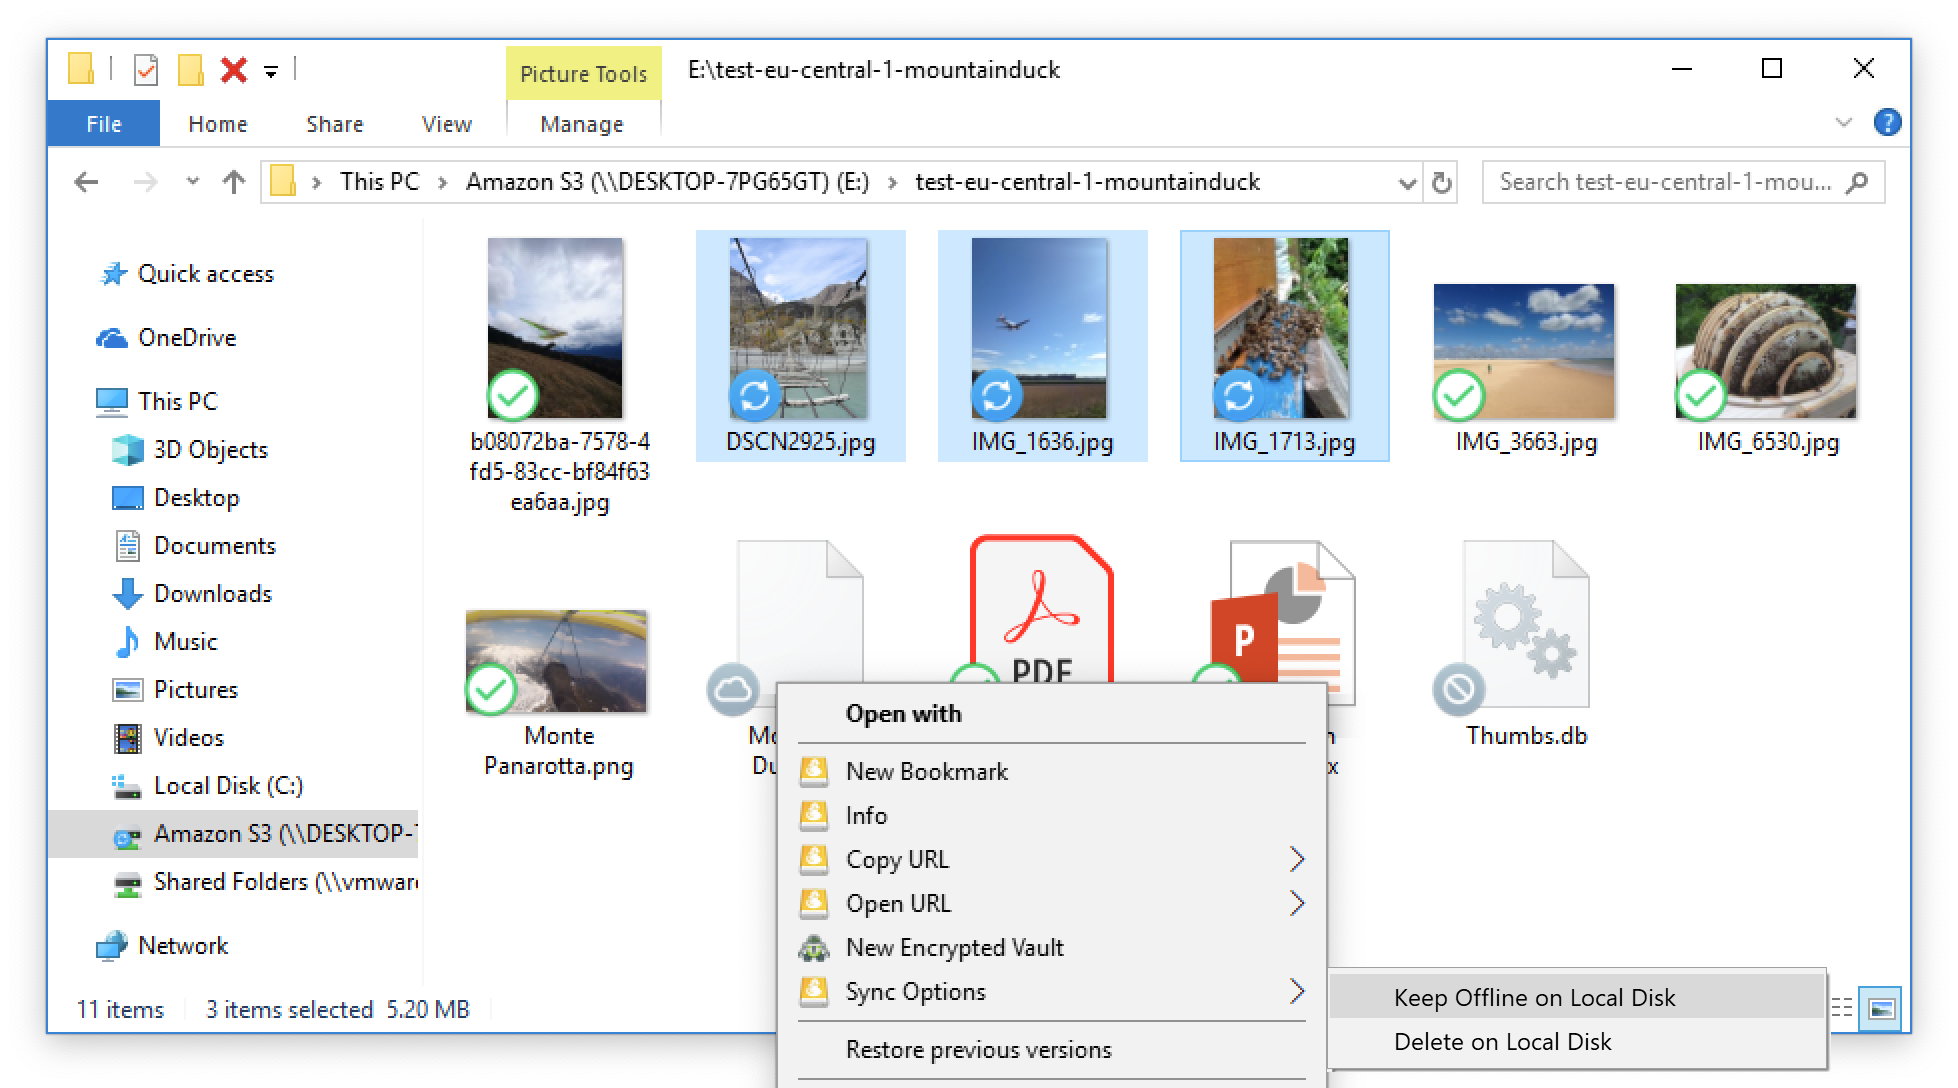
The smart synchronization feature allows to make files available offline. You can also choose to make explicitly all or only selected files and folders available for offline use. Changes to files are saved in a local cache first and uploaded in the background as soon as a connection is available.
Badge icons in the Finder and Windows Explorer indicate the status of files – which indicates if the file is only available when online or is synced to your computer for offline editing. Regardless of the status, you will always see all your files!


Synchronization with the remote storage is paused and resumed automatically depending on your network connection but can also be paused by the user manually. You will see a blinking duck icon in your system tray when a background transfer is currently in progress.
Documentation
Updated documentation for the new smart synchronization feature can be found in our wiki.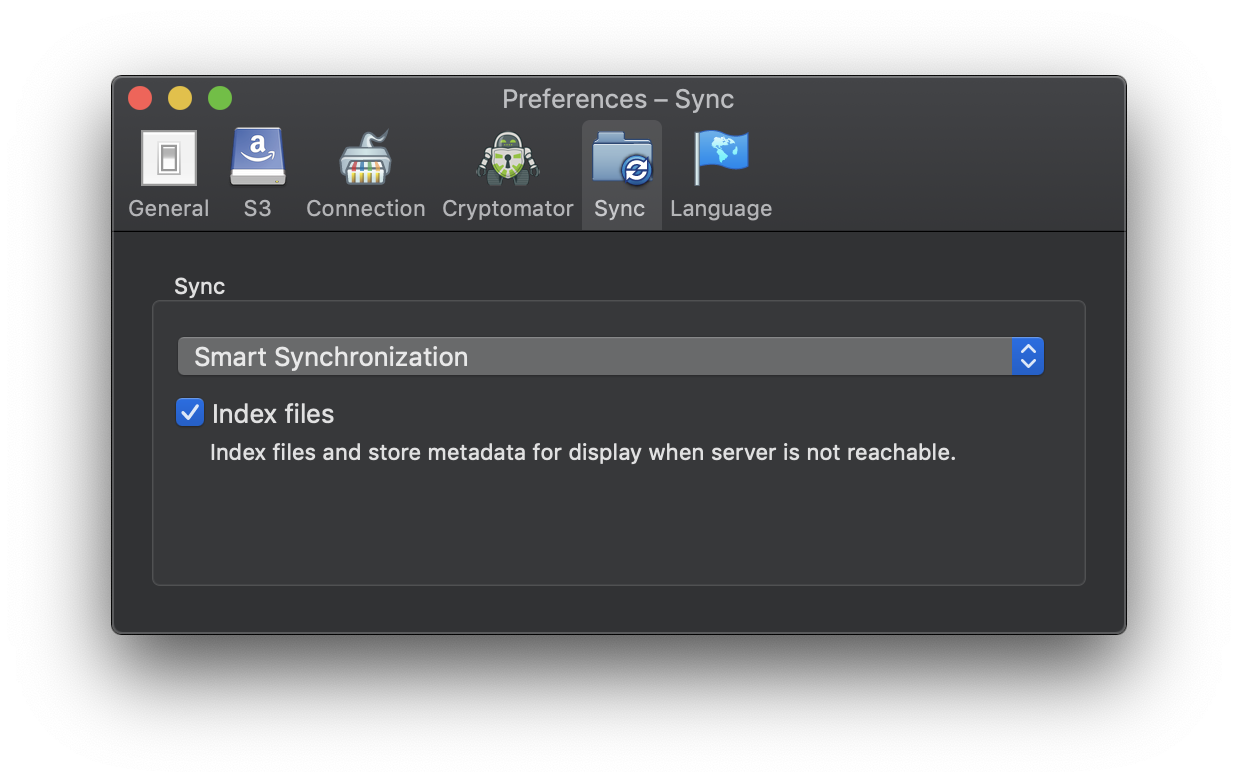
Changelog
The full changelog reads
- Feature Local cache of remote storage to work with when offline
- Feature Explicitly select files or folders to be available offline using context menu
- Feature Automatically add files to local cache for offline access when opened
- Feature Immediate save of files in local cache with upload to remote storage in background
- Feature Badge icons on files and folders with sync status
- Feature Pulsating icon in status bar indicates background sync in progress
- Feature Menu item to manually pause and resume background sync
- Feature Option to enable background indexer to allow browsing folders when offline
- Feature Custom disk icons for mounted volumes in Finder (macOS)
Try it today!
We are looking forward to any feedback you may have! Give it a try by choosing Beta in Preferences → Update → Check for Update….
Version 3 will be a paid upgrade to sustain our development efforts. Discounts for existing users between 40% to 100% depending on the date of purchase.