Managing access to Amazon S3 across multiple AWS accounts and users has traditionally required juggling access keys, secret credentials, and complex IAM policies. With support for AWS IAM Identity Center (formerly AWS Single Sign-On) now available in Cyberduck 9.5.0 and Mountain Duck 5.3.0, connecting to S3 has never been easier or more secure.
What is AWS IAM Identity Center?
AWS IAM Identity Center is AWS’s centralized access management solution that lets users sign in once using their existing corporate credentials—whether that’s through Okta, Microsoft Entra ID (formerly Azure AD), or other identity providers. Instead of managing permanent access keys, users get short-lived credentials that automatically expire, significantly improving your security posture.
Why Use IAM Identity Center with S3?
Traditional S3 access requires creating and managing AWS access keys for each user. These long-lived credentials pose security risks if accidentally exposed or shared. IAM Identity Center solves this by:
- Single Sign-On: Users authenticate once with their corporate credentials
- Short-lived credentials: Temporary credentials that automatically expire and rotate. No more permanent access keys to manage or rotate
- Centralized management: Control access across multiple AWS accounts from one place
Getting Started
Setting up IAM Identity Center authentication for S3 requires two main steps:
1. Configure AWS IAM Identity Center
First, enable IAM Identity Center in your AWS account and configure your identity source. You can use AWS’s built-in directory or connect to an external identity provider like Microsoft Entra ID or Okta. Create a permission set that defines what S3 resources users can access—for example, read-only or full access to specific buckets. Add users through IAM Identity Center (or sync them from your external identity provider) and assign them to AWS accounts with the appropriate permission sets. Users will receive an invitation to set up their access to the AWS access portal.
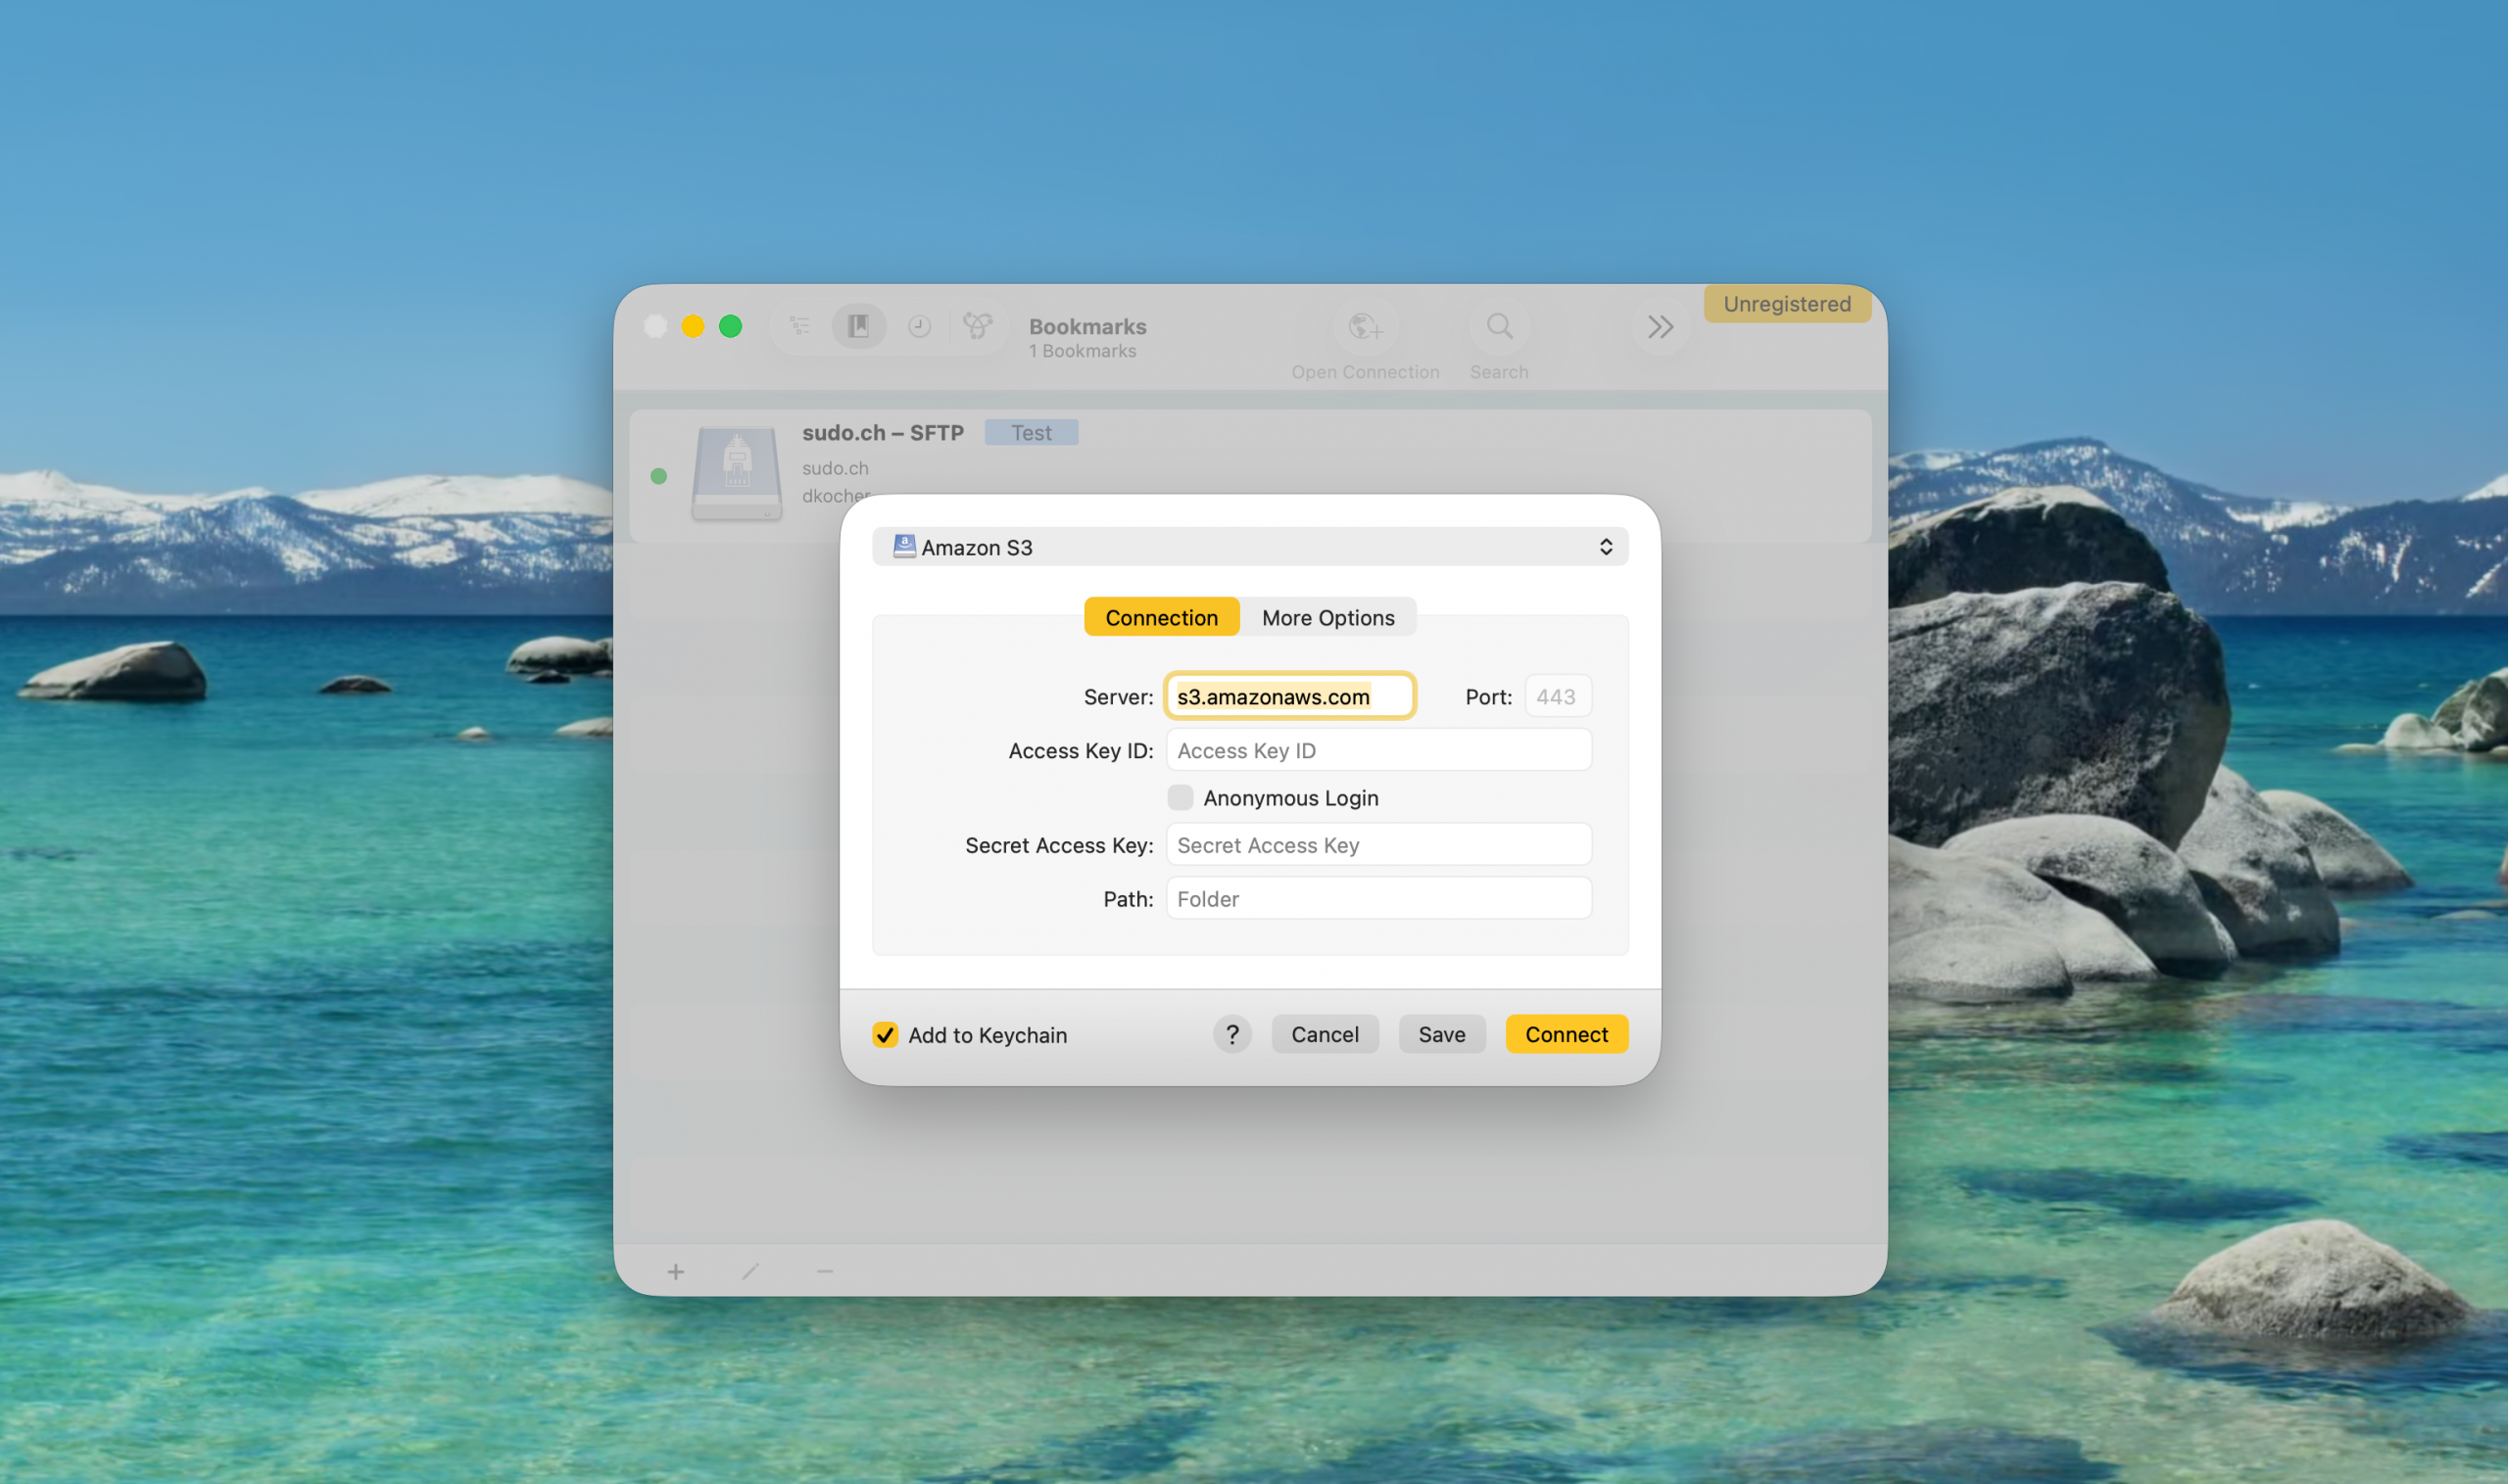
3. Connect in Cyberduck or Mountain Duck
Creating a connection is straightforward:
- Create a new bookmark and select AWS S3 (IAM Identity Center) from the protocol dropdown
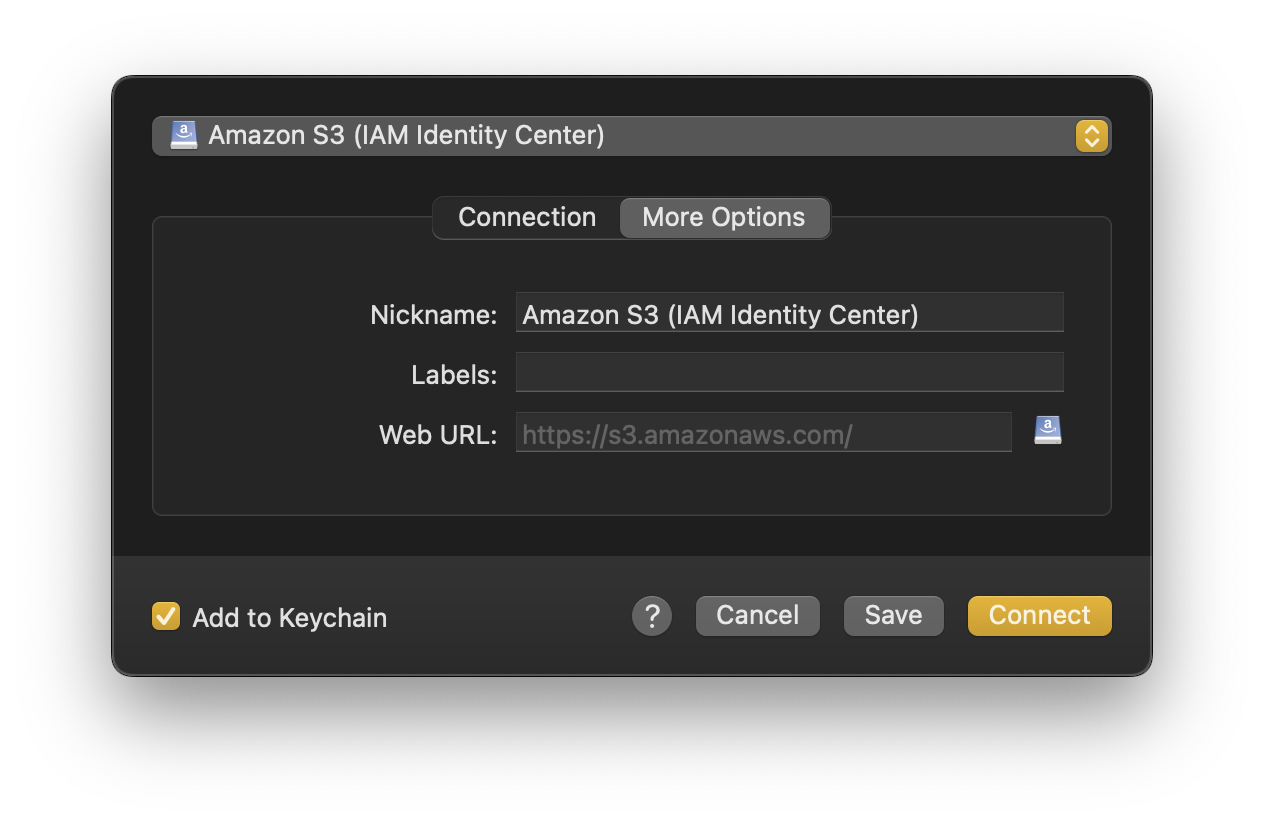
- Provide your SSO region and start URL when prompted
- Authenticate through your web browser using your corporate credentials
- Approve access to Cyberduck or Mountain Duck in the AWS portal
- Choose the AWS Account ID shown when your user has access to multiple accounts and the Permission Role Name if more than a single permission set is configured
The browser will redirect back to the application, and you’re connected—no access keys to copy or store.
Streamlined Workflow with AWS CLI Integration
For teams already using the AWS CLI, Cyberduck and Mountain Duck can read configuration directly from your ~/.aws/config file. Simply configure your profile once with aws configure sso, allowing you to skip the manual input.
Get Started
AWS IAM Identity Center support is available now in Cyberduck 9.5 and Mountain Duck 5.3. For detailed setup instructions and configuration options, check out our complete tutorial.
 Mountain Duck
 CLI
CLI