 Mountain Duck
 CLI
CLIUpdate. Cyberduck 7.0.1 and Mountain Duck 3.0.3 now include a connection profile for Nextcloud & ownCloud by default allowing a more straightforward setup. You can now also select files to create a public share link.
You are looking for a way to connect to your NextCloud or OwnCloud server without loosing any hard disk space on your computer? Mountain Duck mounts your server storage as a network drive in which you can transfer and edit files. The following describes the connection process to NextCloud with a Mountain Duck Bookmark step-by-step.
- Connect to your NextCloud or OwnCloud instance in your web browser and log in.
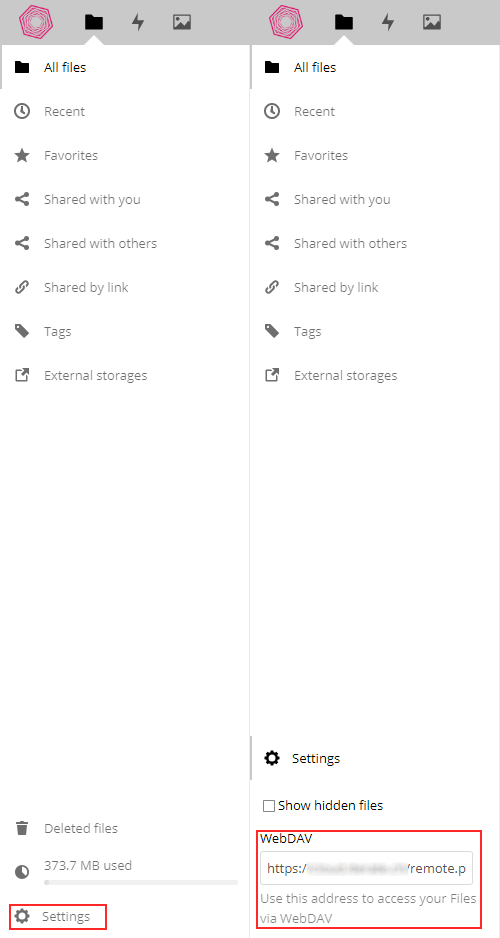
- Click on the option Settings in the lower left of the screen and copy the displayed WebDAV address.
- Start Mountain Duck, click on the icon in the tray area or status bar and choose the option New Bookmark.
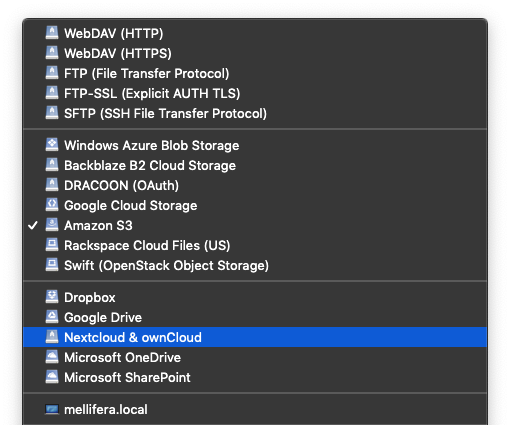
- Paste the previous copied WebDAV address into the server field and press tab. After that, the bookmark should have chosen WebDAV (HTTPS) on its own and should have split the WebDAV address into two parts – the server address and the default path.

- Type your Username into the corresponding field and press Connect.

- Enter your password in the login prompt displayed and choose Login.
- The login and connection process opens automatically a Finder (macOS) or File Explorer (Windows) window with the network drive selected – ready to use.
See also Mountain Duck 3 as an alternative to the Dropbox client application.