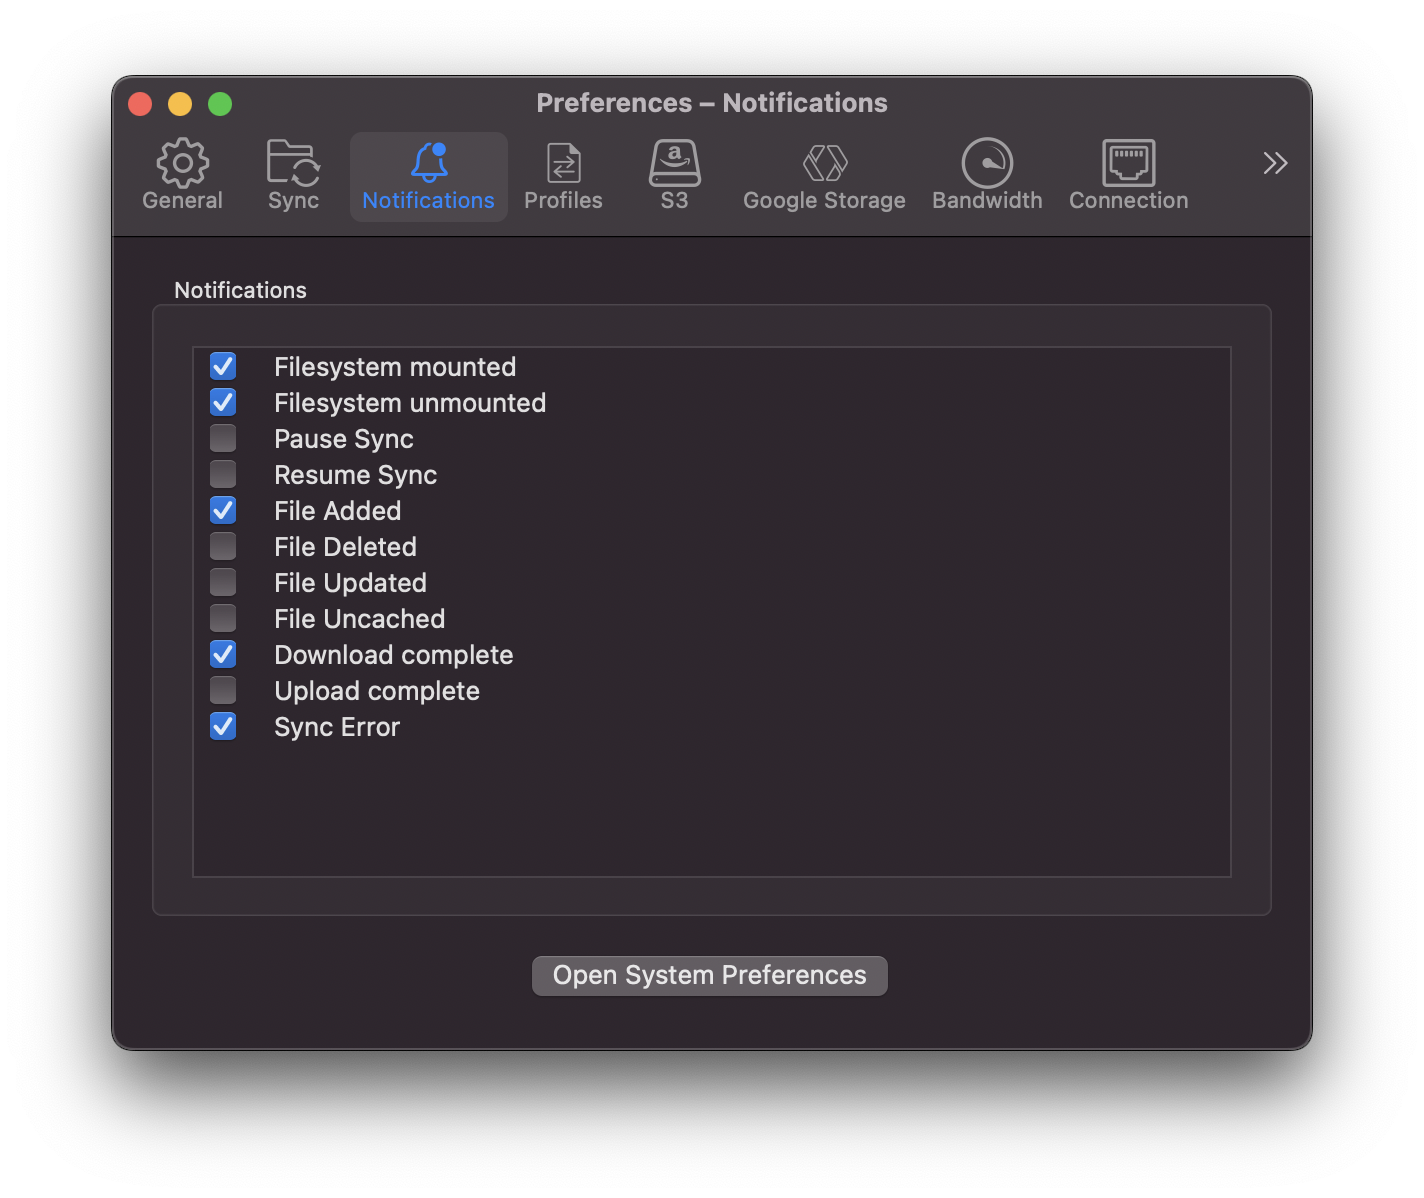
Mountain Duck 4.12 introduces a new Notifications tab in Preferences that allows customizing the notifications to be displayed. In particular it allows fine tuning which notifications to receive when file changes are detected on the server and background synchronization activity.
Cyberduck 8.2 and Mountain Duck 4.10.0 introduce support for accessing Box not only through their FTP or WebDAV gateway but using the native Box API. This should not only improve performance but additionally allow enabling two-factor authentication (2FA) for the account. The new implementation allows to create download and upload shares of files or folders for people who are not Box users by using File → Share…in Cybereduck or Create Download Share or Create Upload Share from the Mountain Duck context menu respectively.
Download Mountain Duck as an alternative to Box Drive.
We previously only had mirror repository for Cyberduck on GitHub and managed pull requests for changes on our own Git server and mirrored all changes to a SVN repository which was used to display a timeline of changes in Trac.
We are now using the repository on GitHub as the primary source root and accept pull requests at the same place. Previous milestone history has been preserved. This will make contributions more straightforward and simplify the development setup for many.
Issues
We now use Github as well to manage all issues containing bug reports or feature requests. We have migrated all previous 11919 tickets opened in Trac since 2005 to GitHub.
Documentation
Additionally we will also retire the current documentation in the Wiki and move it to docs.cyberduck.io. Contributions to the documentation written in Markdown are welcome can be made by opening a pull request.
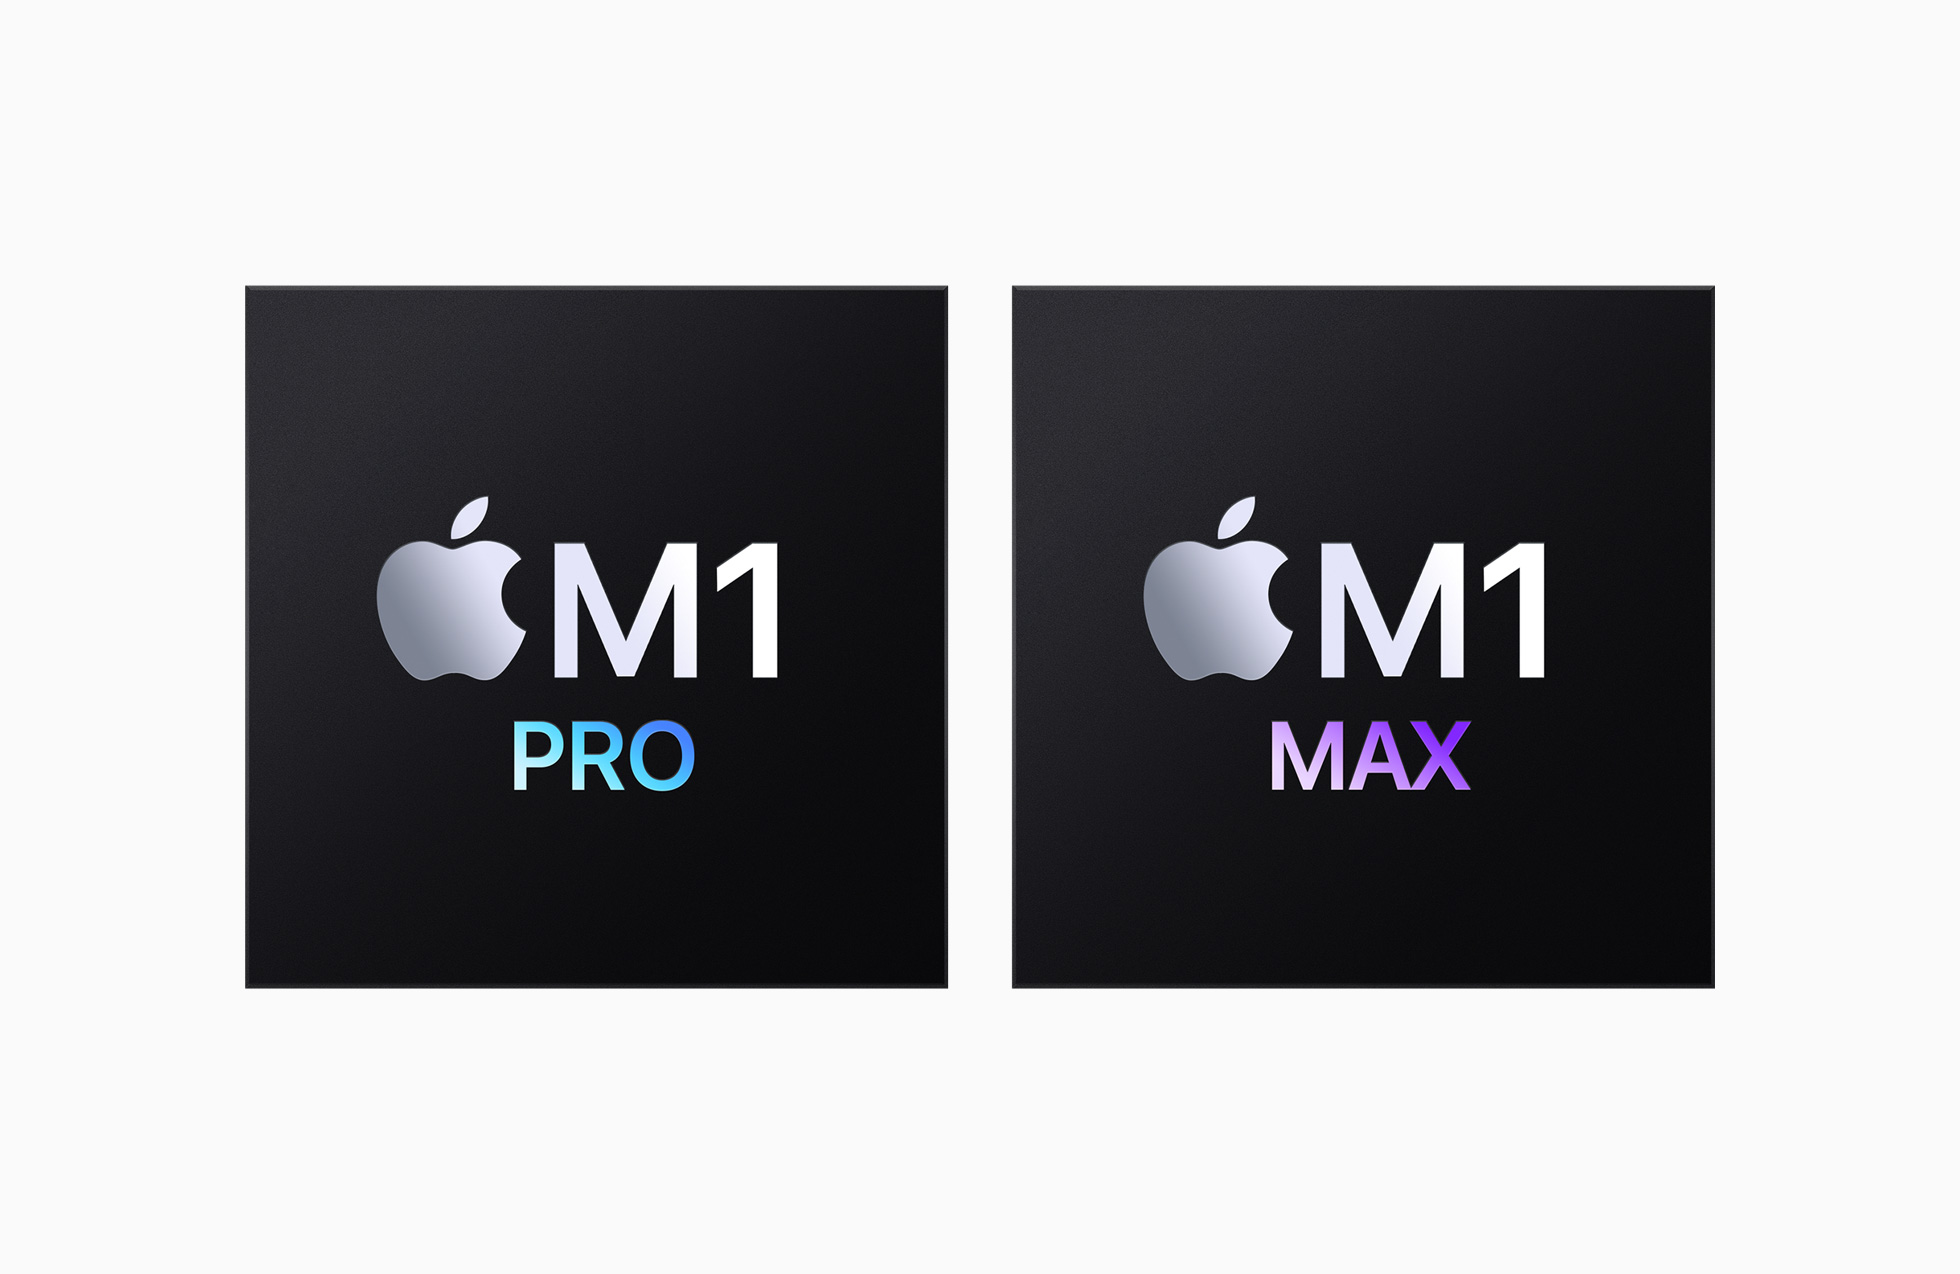
The latest versions of Cyberduck and Mountain Duck now run natively on Apple M1 hardware. Thus we are again shipping a universal binary on macOS since dropping support for PPC and Intel 32-bit (i386) in version 4.4 released in October 2013.
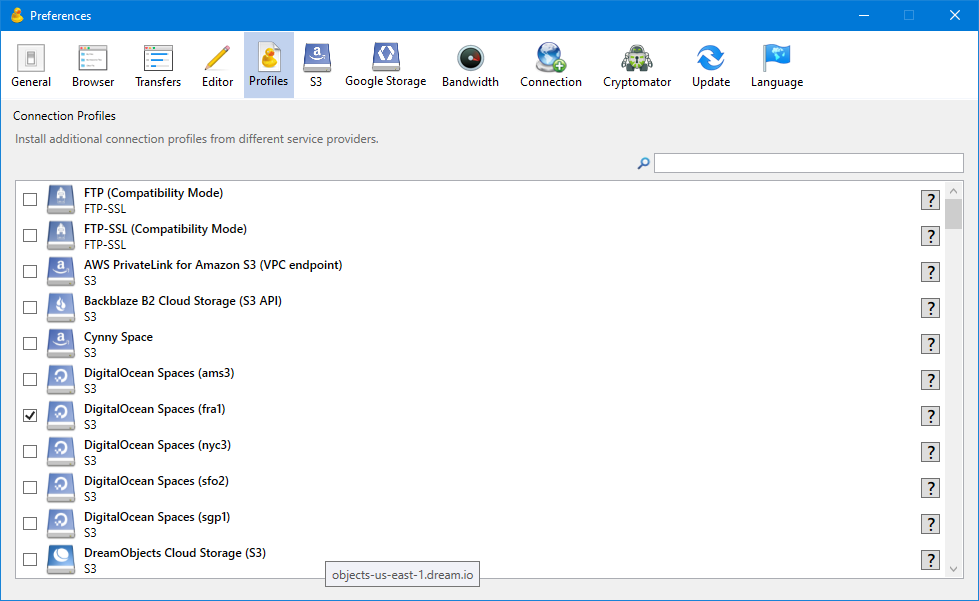
Cyberduck 8 and Mountain Duck 4.8 introduce a new Profiles preferences tab that allows to install additional connection profiles on demand. This makes it much easier to connect to various hosting and cloud storage service providers without the need to lookup connection details other than credentials.
Cyberduck Preferences (Windows)
Usage
You can either scroll through the list of profiles or use the Search function. To install a connection profile simply enable the corresponding checkbox. The profile will be downloaded and saved in the “Profiles” folder of the application support directory right away. Since Mountain Duck and Cyberduck refer to the same application support directory the connection profiles are shared between both applications. Disabling the checkbox deactivates the connection profile for the currently used application.
Providers
Service providers that define connection profiles and open an issue to request the connection profile to be added to the default repository.
Cyberduck CLI is now available for the growing ARM ecosystem. Run the universal file transfer tool on AWS EC2 A1 instance types or Raspberry Pis for example. Both DEB and RPM package types are available in 32bit and 64bit for ARM. The regular installation instructions apply.
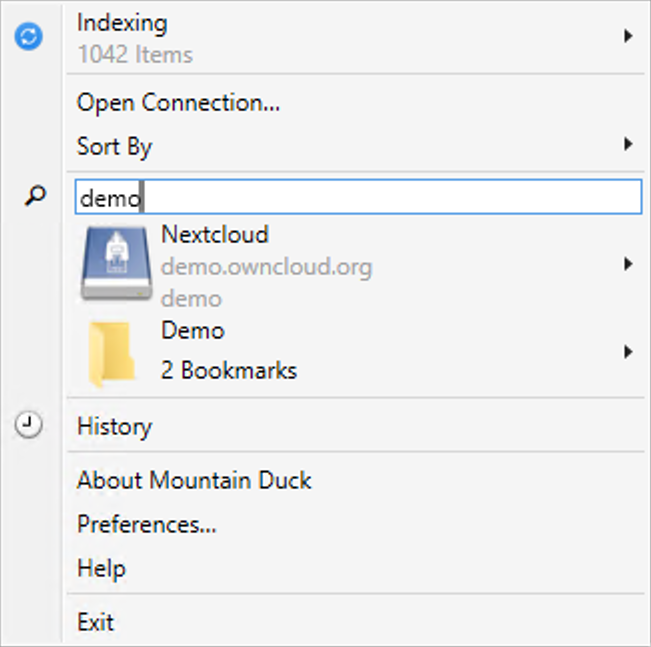
Mountain Duck 4 introduced labels to assign to bookmarks to allow grouping in folders in the status bar and system tray menu. To further ease the lookup of bookmarks for power users with many connections we have now added a search field in the menu in version 4.4 as known from the Cyberduck browser window.
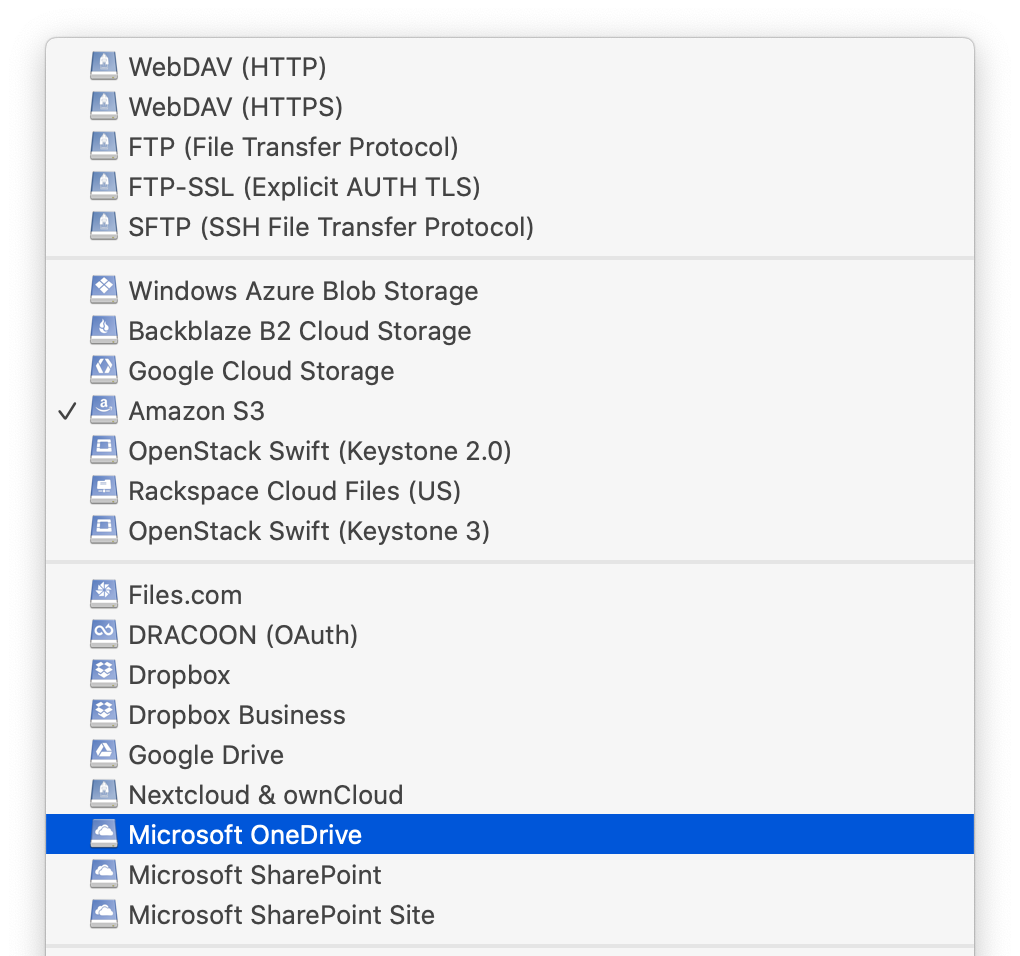
Cyberduck 7.8 and Mountain Duck 4.4 improve support for Microsoft Sharepoint connections. The Microsoft SharePoint Siteconnection profile now allows to connect to specific sites. The regular Microsoft SharePoint connection profile adds support to browse different libraries. Refer to our extended documentation for both OneDrive and SharePoint.
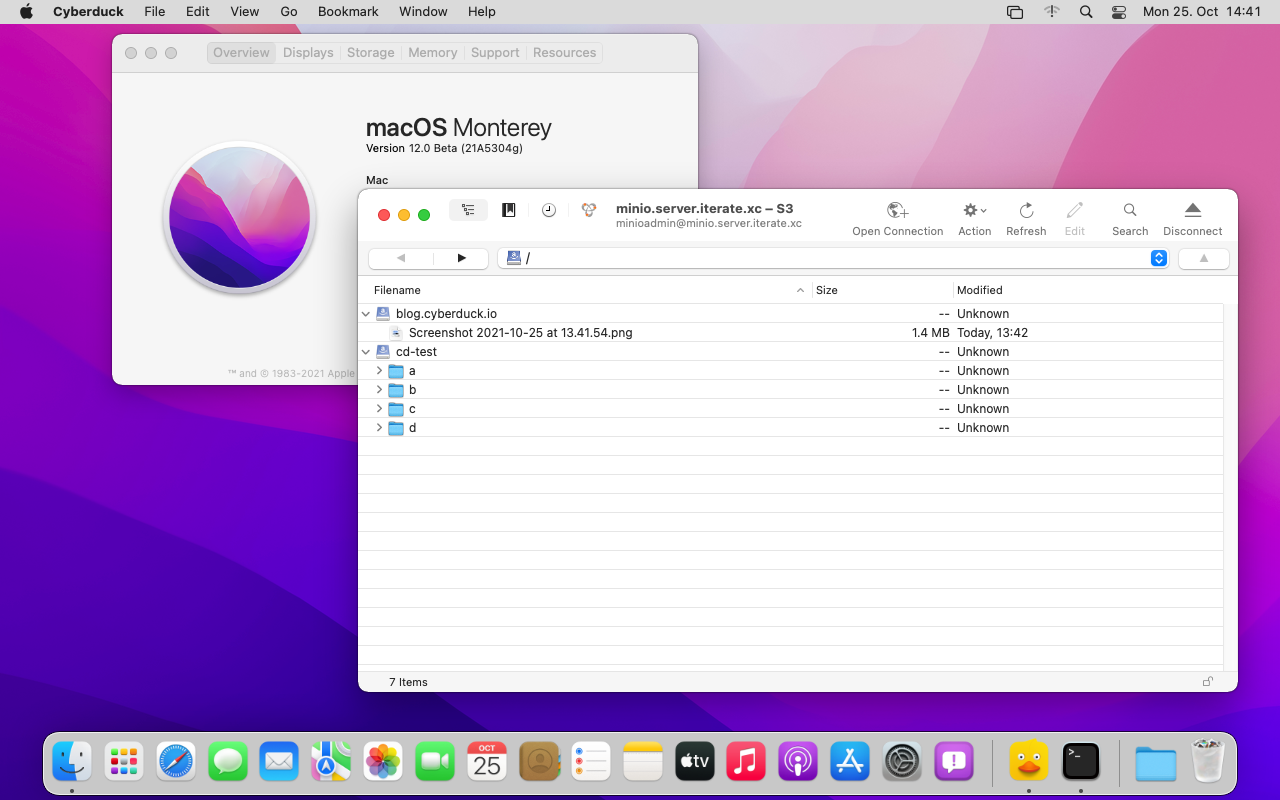
We have made some adjustments in version 7.7 of Cyberduck to support the new window appearance introduced in macOS 11. Switching between bookmarks and browser view is now always visible in the toolbar.
The bookmark proxy icon is now displayed inline with the other toolbar controls including the bookmark nickname replacing the previous window title.
Additionally the input field to search for bookmarks or files is now located in the toolbar and treated accordingly.
When horizontal space is limited, the toolbar can display the Search button in place of the search bar. When people click the Search button, the bar expands; when they click elsewhere in the window, the search bar collapses and the toolbar displays the button again.
 Mountain Duck
 CLI
CLI